
Did you know that nearly 70% of enterprises use virtualization to improve their IT setup? Knowing how to install Windows on Proxmox can greatly help businesses. This guide will walk you through the process, making it easy for everyone.
Proxmox is a strong open-source platform for managing virtual machines. Our instructions will help you set up Windows in a virtual environment. We’re here to help you confidently set up your virtual machine.
Key Takeaways
- Understand the benefits of using Proxmox for Windows installations.
- Learn the essential system requirements for Proxmox.
- Choose the right Windows version for optimal performance.
- Follow a step-by-step guide to create a new virtual machine.
- Navigate the networking configuration options available in Proxmox.
- Easily manage your Windows VM with best practices and troubleshooting tips.
- Explore advanced configurations for enhanced functionality.
Starting your journey to install Windows on Proxmox? Don’t forget to check out more resources. Like this tutorial on how to install Mautic.
Introduction to Proxmox and Windows Installation
Understanding virtualization platforms is key today. Proxmox is an open-source tool for managing virtual machines and containers. It lets users run many operating systems, including Windows versions.
What is Proxmox?
Proxmox is known for its strong virtualization features. It helps both businesses and individuals use their hardware better. It combines KVM and LXC for a full management interface. This makes running multiple operating systems on one server easier.
Benefits of Using Proxmox
Using Proxmox offers more than just better resource use. The main benefits are:
- Enhanced resource allocation for better performance.
- Efficient use of hardware to get the most out of your investment.
- Robust backup solutions to protect your data and settings.
These features make using Proxmox for a windows on proxmox tutorial easier.
Overview of Windows Installation
Setting up Windows on Proxmox requires some steps. Making sure the Windows version works with Proxmox is key. Knowing what you need before starting is important for a smooth setup.
For more help, check out this detailed guide. With the right steps, you can create a powerful virtual environment with Windows on Proxmox.
Preparing Your Environment
Before you install a Windows guest on Proxmox, make sure your environment is ready. This step is key to a smooth and efficient setup. We’ll show you how to check your system specs, pick the right Windows version, and download the ISO file you need.
System Requirements for Proxmox
Your server needs to meet certain requirements for Proxmox. Here’s what to aim for:
- Multi-core processor
- At least 8GB of RAM
- Sufficient disk space (preferably SSD for performance)
- Latest version of Proxmox installed
Choosing the Right Windows Version
Picking the right Windows version is crucial for the best performance. Think about what you need. You might choose Windows 10, Windows Server 2019, or Windows Server 2022. Each version has special features for different tasks, like desktop use or server management.
Downloading Windows ISO
After picking your Windows version, download the official ISO file. This file is your installation medium for your Windows guest in Proxmox. Make sure to get it from a trusted source. For more help with installations, check out installing cPanel on your server. This can help with your setup.
Setting Up Proxmox
Before you start installing Windows on Proxmox, you need to set up your Proxmox environment. This includes downloading the Proxmox ISO and making a bootable USB drive. After booting, you’ll use an installation wizard to configure your settings.
Installing Proxmox on Your Server
Starting the Proxmox installation is the first step into virtualization. Here’s how to do it smoothly:
- Get the latest Proxmox ISO from the official site.
- Make a bootable USB with Rufus or Etcher.
- Insert the USB into your server and restart it.
- Go into BIOS settings and make USB the first boot option.
- Follow the installation wizard to set up Proxmox.
Configuring Proxmox for the First Time
After installing, you need to configure Proxmox for the first time. This prepares your server for Windows installation:
- Open the Proxmox web interface at https://your-server-ip:8006 in a browser.
- Use the admin login you created during setup.
- Set up your storage for virtual machines.
- Make backup schedules for your data.
- Optional: Change network settings for better performance.
This initial setup is key for creating virtual machines. It prepares your Proxmox server for Windows installation. By following these steps, your server will be ready for more configurations.
Creating a New Virtual Machine
Setting up a new virtual machine in Proxmox is key for a smooth proxmox windows installation. This guide covers the main steps for creating a VM. It includes setting up resources for better Windows performance and picking the right ISO image.
Step-by-Step Guide to VM Creation
To create a virtual machine in Proxmox, follow a clear process. Here are the steps for a successful setup:
- Log into the Proxmox web interface.
- Select the “Create VM” option from the toolbar.
- Input a name for your new VM.
- In the “OS” tab, choose the right operating system type.
- Go to the “System” tab and set up BIOS settings as needed.
Configuring Resources for Windows VM
Right resource allocation is key for your proxmox windows vm setup’s performance. Here are some tips based on typical Windows use:
| Resource | Minimum | Recommended |
|---|---|---|
| CPU Cores | 2 | 4 or more |
| RAM | 4 GB | 8 GB or more |
| Disk Size | 40 GB | 100 GB or more |
Selecting the Windows ISO
Picking the correct Windows ISO is crucial for your installation. Here’s how to choose the right ISO:
- Go to the “CD/DVD” section in Proxmox during VM setup.
- Pick the Windows ISO image you uploaded from the storage list.
- Make sure to check the box for “Use as Boot Device” to let the VM boot from the ISO.
Networking Configuration
Setting up network settings in Proxmox is key for your Windows VM to work well. Knowing the network options is the first step. We’ll look at bridged and NAT networking and how to set up a bridge network.
Understanding Network Options in Proxmox
Proxmox has many network settings for your virtual machines. Each setting has its own benefits for different needs. Knowing these options helps you choose the right one for your setup.
Bridged vs. NAT Networking
Bridged networking lets a VM connect directly to the local network. It gets its own IP address. This is great for direct access.
NAT networking, on the other hand, acts as a barrier. The VM uses a private IP but shares a public IP for outside access. This is good for security.
Setting Up a Bridge Network
For the best performance, setting up a bridge network is usually the best choice. This involves making a network bridge in Proxmox to link your VM to the physical network. Here’s how to do it:
- Navigate to the Proxmox web interface.
- Go to the ‘Datacenter’ tab and pick ‘Network’ settings.
- Create a new Linux Bridge with the right details.
- Connect your Windows VM to the new bridge.
With a bridge network, your Windows VM will communicate smoothly across the network. This boosts its functionality. For more on using Proxmox with apps like WordPress, check this guide.
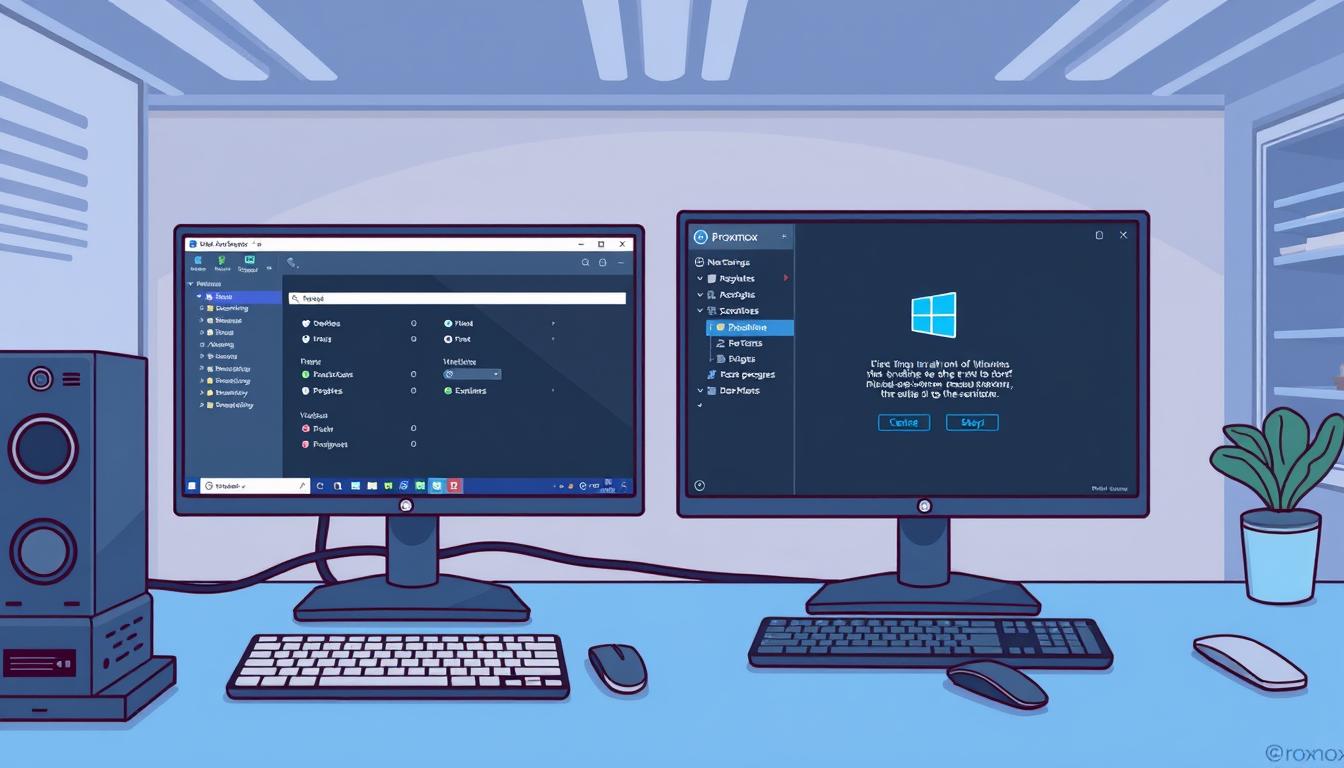
Installing Windows on Proxmox VM
First, make sure your virtual machine is set up and resources are allocated. Then, boot the VM from the Windows ISO file. This step is key to installing Windows on Proxmox. We’ll walk you through the important steps to make the process smooth.
Booting the VM from ISO
Start by turning off the virtual machine. Go to the Proxmox web interface. Find your VM, click on ‘Hardware’, and then the CD/DVD drive. Mount the Windows ISO file to the virtual drive. After that, start the VM. You should see the Windows installation screen if everything works right.
Windows Installation Steps
The Windows installer will guide you through the installation. Here are the main steps:
- Language and Region Selection: Pick your language and region.
- Installation Type: Choose whether to do a custom installation or upgrade.
- Partition Setup: Set up your partition. For a new install, create a new partition.
- User Account Configuration: Create your user account and choose a strong password.
Each step is important for a successful installation. It ensures your VM works well after setup.
Activating Windows After Installation
After installing, activating Windows is crucial. You need a valid product key for this. Here’s how to do it:
- Open the Settings app from the Start menu.
- Go to Update & Security, then click on Activation.
- Enter your product key and select Activate.
Activating Windows is necessary for full functionality and updates. This completes our guide on installing Windows on Proxmox. You’re now ready to use your virtual environment productively.
Post-Installation Configuration
After setting up Proxmox with Windows, it’s time to make your system run better. This part will guide you through key steps to keep your Windows VM fast and safe.
Installing VirtIO Drivers
Installing VirtIO drivers is key for better performance in your Windows VM. These drivers help your VM use Proxmox’s features fully. Here’s how to do it:
- Get the latest VirtIO drivers from the Fedora project.
- Put the drivers on your Proxmox storage.
- Boot your Windows VM and add the drivers during setup.
Once done, you’ll see a big improvement in how fast your VM works.
Configuring Windows Settings
Now, it’s time to tweak Windows settings for the best performance. Here’s what to do:
- Adjust system preferences for better performance.
- Make sure all drivers are up to date for better hardware use.
- Change power settings to save energy without losing performance.
These tweaks will make your experience smoother and help manage resources better.
Windows Updates and Security Settings
Keeping Windows up to date is crucial for security and function. Automatic updates keep your system safe from threats. Remember to:
- Turn on Windows Defender for strong security.
- Set up firewall settings to watch and protect network traffic.
- Always check for and apply updates to keep your system healthy.
Staying ahead with Windows updates on Proxmox keeps your environment safe. This reduces the chance of security issues.
Managing Your Windows VM
Managing your Windows VM on Proxmox is key to a smooth virtual environment. The VM console is a must for monitoring and fixing issues. We focus on backing up your VM to prevent data loss and improve performance.
Accessing VM Console
Getting into the VM console is easy. Through Proxmox’s web interface, you can see your Windows VM’s console. This lets you manage your VM and keep an eye on its performance.
Backing Up Your Windows VM
Backing up your Windows VM is crucial for data safety. Proxmox makes backups simple. You can set up automatic backups through the Proxmox interface. For more on managing virtual environments, check out how to install community software on a Windows virtual.
Resource Monitoring
It’s important to watch your Windows VM’s resource use. Proxmox tools help track CPU, memory, and disk usage. This lets us make sure your VM has enough resources for smooth operation.
| Feature | Functionality | Importance |
|---|---|---|
| Access to VM Console | Real-time monitoring and management | Immediate troubleshooting |
| Backup Options | Scheduling automated backups | Data protection |
| Resource Monitoring | Tracking resource utilization | Performance optimization |
Troubleshooting Common Issues
Installing Windows on Proxmox can sometimes lead to problems. But, many common issues can be fixed with the right help. This section will guide you through troubleshooting, including boot problems, network issues, and tips for better performance.
Boot Problems with Windows VM
Boot problems can stop your Windows VM from starting up. These issues might come from wrong settings or missing boot options. Here’s how to fix them:
- Make sure the boot order in VM settings is right, with the disk where Windows is installed first.
- Check if the Windows installation media works and is recognized by Proxmox.
- Look for any error messages when booting and solve them based on the error codes.
Network Connectivity Issues
Good network connectivity is key for your Windows VM to work well. Mistakes in network settings can cause problems. Here’s how to fix them:
- Ensure the network adapter is turned on and set up right in Proxmox VM settings.
- Check the virtual network switch settings to make sure they meet the VM’s needs.
- Do a ping test to check network access and find any connectivity issues.
Performance Optimization Tips
To get the best performance from your Proxmox Windows VM, try these tips. Fixing problems often means tweaking settings for better resource use:
| Optimization Area | Tip |
|---|---|
| CPU Allocation | Give the VM more cores based on what it needs. |
| Memory Usage | More memory helps avoid slow performance during big tasks. |
| Disk Performance | Use SSD storage for the VM to speed up read and write. |
| Network Settings | Adjust network settings to give more bandwidth to important apps. |
Advanced Configurations
For those looking to enhance their Proxmox experience, advanced settings offer powerful features. We’ll cover setting up Remote Desktop on Proxmox for easy access to Windows VMs. We’ll also explore enabling nested virtualization for better resource use. Finally, we’ll look at integrating with Active Directory for better user management.
Setting Up Remote Desktop
Configuring Remote Desktop on Proxmox makes managing your Windows VM easy from afar. Just follow these steps:
- Enable Remote Desktop in the Windows settings.
- Open the firewall settings on the Windows VM to allow Remote Desktop traffic.
- Connect to the VM using an RDP client, entering the IP address assigned by Proxmox.
Enabling Nested Virtualization
Nested virtualization is a big plus for those who need to run VMs inside another VM. Here’s how to do it:
- Editing the configuration of your Windows VM in Proxmox.
- Setting the appropriate CPU flags for nested virtualization.
- Restarting the VM to apply the changes.
Integrating with Active Directory
Integrating with Active Directory makes managing user accounts easier and more secure. Here’s how to do it:
- Ensure your Windows VM is in the same network as your Active Directory server.
- Join the Windows VM to your Active Directory domain through system settings.
- Verify user permissions and policies after integration.
Security Best Practices
When managing a Windows virtual machine on Proxmox, strong security is key. We focus on ways to secure your Proxmox Windows VM. This helps protect your data from threats.
Securing Your Windows VM
Start by using strong passwords and two-factor authentication. Update user privileges regularly. This limits who can access your VM and data.
Firewall Settings
Next, set up your firewall. A good firewall blocks threats. Only open necessary ports and watch for unusual traffic.
Regular Backups and Updates
Backups are essential. Set up regular backups to protect against failures or attacks. Keep your OS updated to stay safe. Automating updates helps keep your system secure.
For developers, ReadySpace’s Cloud Server is a great choice. It offers a secure platform for development.
| Best Practice | Description | Frequency |
|---|---|---|
| Strong Authentication | Utilize complex passwords and enable two-factor authentication. | Monthly Review |
| Firewall Configuration | Restrict open ports and monitor traffic. | Weekly Check |
| Regular Backups | Automate backup processes to safeguard data. | Daily Schedule |
| System Updates | Apply OS updates and patches regularly. | Automatic |
Conclusion
In this guide, we covered the key steps for installing windows on Proxmox. We started with preparing your environment and managing your virtual machine. By following these steps, you can ensure a smooth installation that meets your business needs.
Using Proxmox makes setting up Windows easier. It also boosts your operational efficiency.
Recap of the Installation Process
The process includes several important steps. First, you set up Proxmox. Then, you create a new virtual machine. Finally, you install Windows from an ISO file.
Understanding these steps well helps you set up Proxmox smoothly for future projects. A strategic approach can help you use your infrastructure well and avoid problems.
Additional Resources and Support
To improve your skills in managing Windows on Proxmox, check out this link. It has troubleshooting tips and ways to boost performance in your virtual environment. Staying updated is key for managing your installations well.
Future Windows Installations on Proxmox
There are many possibilities for future Windows installations on Proxmox. Keeping up with technology can help your business grow. It can lead to more efficient and scalable workflows.
As your business grows, remember these strategies. They can help you stay competitive in the cloud solutions market.
FAQ
What are the system requirements for installing Windows on Proxmox?
To install Windows on Proxmox, you’ll need a server. It should have a multi-core processor, at least 8GB of RAM, and enough disk space. This space is for the Windows OS and your apps.
How do I create a new virtual machine for Windows on Proxmox?
To create a new virtual machine, go to the Proxmox web interface. Choose “Create VM” and follow the steps. You’ll need to allocate resources and pick your Windows ISO file.
Can I use any version of Windows with Proxmox?
Yes, you can install different versions of Windows, like Windows 10 or Windows Server. Just make sure it fits your needs and works with Proxmox.
What is the significance of VirtIO drivers in a Windows VM on Proxmox?
VirtIO drivers are key for better performance in Proxmox. They improve disk and network performance. This makes your Windows VM run smoothly and efficiently.
What networking options are available for Windows VMs in Proxmox?
Proxmox offers several networking options. You can use bridged or NAT networking. Bridged networking lets the VM talk directly to the network. NAT is simpler but has less performance.
How can I back up my Windows VM in Proxmox?
To back up your Windows VM, use the Proxmox web interface. You can schedule or do manual backups. This keeps your data safe.
What should I do if my Windows VM fails to boot?
If your Windows VM won’t boot, check its settings and boot order. Also, look at Proxmox logs for error messages. They can help you fix the issue.
Is it possible to enable Remote Desktop for my Windows VM on Proxmox?
Yes, you can enable Remote Desktop. Just set it up in your Windows settings. This lets you access your VM remotely easily.
How do I ensure my Windows VM is secure in Proxmox?
To keep your Windows VM secure, use a strong firewall. Regularly update your system and do backups. This protects against threats and data loss.
Where can I find additional resources for troubleshooting Windows on Proxmox?
For more help, check the Proxmox documentation and forums. You can also find tutorials online about installing Windows on Proxmox.
Comments are closed.