
Did you know over 65% of businesses use virtualization to improve their IT? If your company is among them, you might be looking into Proxmox. This guide is for business leaders wanting to boost their server setup with Proxmox, a top open-source virtualization platform. We’ll show you how to install Proxmox step by step, making sure it’s easy for Australian users.
Key Takeaways
- Discover the essential steps to install Proxmox efficiently.
- Understand the hardware and software requirements necessary for installation.
- Learn the importance of network configuration for a successful setup.
- Get tips on troubleshooting common installation issues.
- Explore backup solutions within Proxmox to protect your virtual machines.
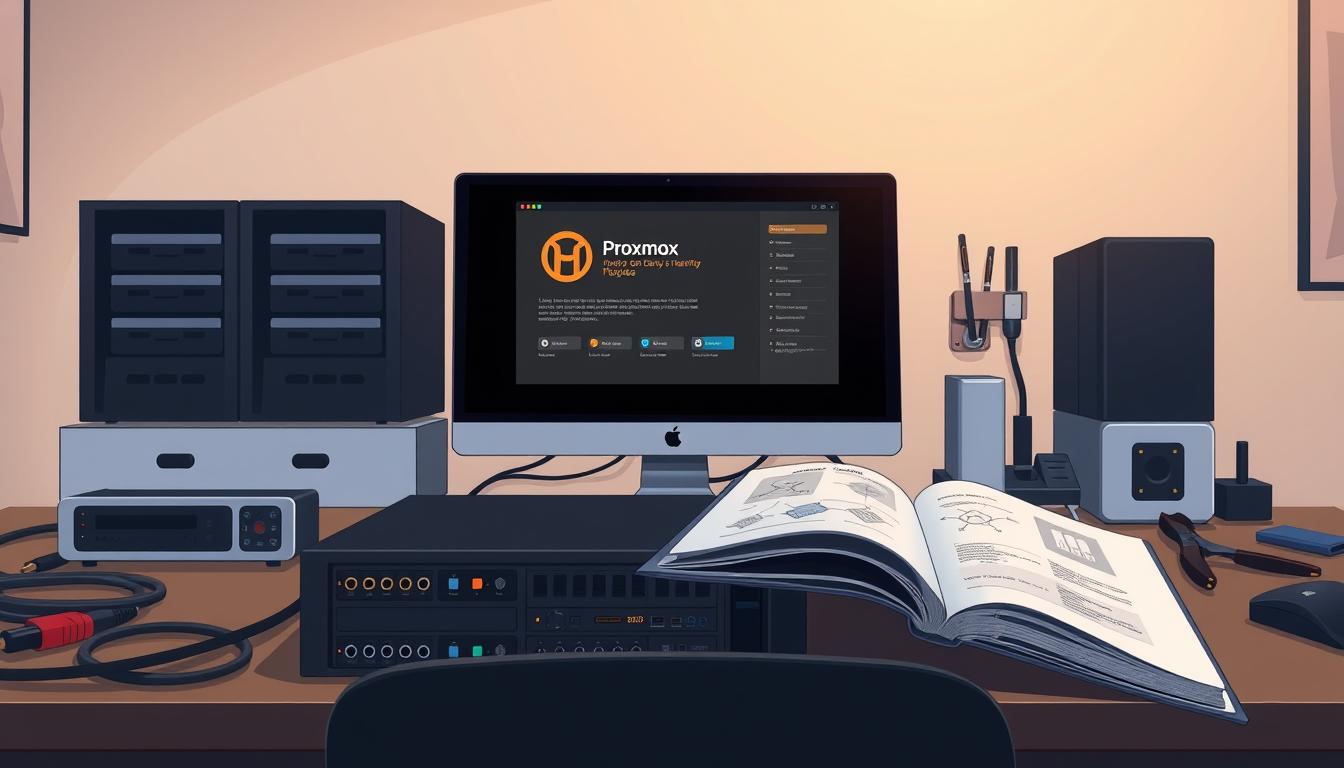
Introduction to Proxmox
Proxmox is a versatile open-source virtualization platform based on Debian. It combines KVM-based virtualization and Linux Containers (LXC). This allows us to manage both virtual machines and containers easily.
What is Proxmox?
This platform makes managing IT resources simple. It offers a unified interface for easy installation. Proxmox is a community-supported solution that’s powerful yet easy to use. It’s great for both small and large businesses.
Benefits of Using Proxmox
Using Proxmox has many benefits. It’s cost-effective, allowing businesses to deploy servers without expensive licensing fees. It’s also flexible, letting teams quickly adapt to changing needs. The intuitive web interface makes it easy to use, even for complex setups.
For those looking for help, there are detailed installation guides available. These guides can help enhance the Proxmox experience.
Key Features of Proxmox
Proxmox offers comprehensive support for virtual machines, containerization, and backup solutions. It allows users to manage KVM-based virtual machines and LXC containers efficiently. This optimizes resource usage.
The built-in backup tools protect data integrity. They ensure minimal downtime. This makes Proxmox a key technology for enterprise-level virtualization.
| Feature | Description | Advantage |
|---|---|---|
| KVM Support | Full virtualization capabilities with Linux Kernel-based Virtual Machine | Efficient resource utilization and isolation |
| LXC Containers | Lightweight system containers for enhanced performance | Faster deployment times and lower overhead |
| Web Interface | User-friendly management from any web browser | Easy navigation for less technical users |
| Backup Solutions | Comprehensive backup jobs with scheduling | Data protection and recovery options |
Pre-Installation Requirements
Before starting the Proxmox installation, it’s important to know what you need. We’ll cover the essential hardware and software needs, plus network setup. Meeting these requirements helps ensure a smooth setup and top performance.
Hardware Requirements
For Proxmox, make sure your hardware meets these specs:
- 64-bit processor
- Minimum of 2GB RAM (8GB recommended for production)
- At least 16GB of storage (SSD recommended)
- Compatible network interface card
These specs are key for your server’s performance.
Software Requirements
Proxmox needs specific software to work well. Here’s what you need:
- A compatible Debian-based operating system
- Latest BIOS/Firmware updates for hardware
- Virtualization technology enabled in BIOS settings
Meeting these software needs sets up a strong base for your virtualization setup.
Network Configuration Needs
A good network setup is crucial for Proxmox’s performance. Consider these points:
- Stable internet connection for updates and resource access
- Proper IP addressing to avoid conflicts and ensure connectivity
- Configured DNS settings for seamless communication
Meeting these network needs boosts system stability and makes managing connections easier after installation.
Downloading Proxmox
Starting the Proxmox installation involves downloading the right version. It’s crucial to pick the latest stable release. This ensures your server runs smoothly and securely.
Choosing the Right Version
When you download Proxmox, look at the different versions available. Each version has unique features and updates. Choose one that fits your needs and goals. Regular updates keep your setup safe and efficient.
Official Proxmox Download Sources
Always download Proxmox from official sources for safety and security. The best place to get it is from the Proxmox website. This way, you avoid risks from third-party downloads.
Verifying the Downloaded File
After downloading, it’s key to verify the file. Use checksum tools to check if the file is complete and unchanged. This step confirms the file’s authenticity before you install it.
| Download Step | Description |
|---|---|
| 1. Select Version | Choose the latest stable version appropriate for your needs. |
| 2. Visit Official Site | Access the Proxmox website for secure downloading. |
| 3. Download File | Download the installation file directly to your server or local system. |
| 4. Verify Download | Use checksum to confirm the integrity and completeness of the downloaded file. |
Creating a Bootable USB Drive
Making a bootable USB for proxmox is key to setting up your server. A good USB drive makes starting the installation easy. This guide will show you the best tools, step-by-step process, and how to fix common problems.
Recommended Tools for USB Creation
Choose reliable software for making a bootable USB. Rufus and Etcher are top picks because they’re easy to use and work well. They support many operating systems and handle ISO files for installing proxmox from usb.
Step-by-Step Guide to Create USB
- Download the Proxmox ISO file from the official website.
- Open Rufus or Etcher on your computer.
- Pick your USB drive in the tool.
- Choose the ISO image you downloaded.
- Change advanced options if needed (most are set automatically).
- Hit “Start” or “Flash” to start making a bootable USB for proxmox.
- Wait for it to finish; you’ll know it’s done.
Troubleshooting USB Creation Issues
If you run into problems, here are some tips:
- USB Not Detected – Check that your USB is plugged in right and your computer sees it.
- Corrupted Boot Image – Get a new Proxmox ISO file and try again.
- Insufficient Permissions – Run the USB tool as an admin.
This advice helps you smoothly prepare for installing proxmox. By using these steps, we can easily solve problems with installing proxmox from usb. This sets a strong base for our server setup.
BIOS/UEFI Configuration
Setting up BIOS or UEFI settings right is key for a good proxmox server setup. This guide helps you get into BIOS/UEFI settings, set up the boot order, and turn on virtualization for the best performance.
Accessing BIOS/UEFI Settings
To begin with BIOS for proxmox, you need to get into the BIOS or UEFI settings. Press a specific key (like F2, DEL, or ESC) right when you turn on your server. The key might change based on your motherboard brand. Look for on-screen tips during boot-up to find the right key.
Configuring Boot Order
In the BIOS/UEFI setup, find the boot options. Make sure the USB drive is the first boot device. This lets the Proxmox installer run smoothly. Look for “Boot Order” or something similar, then change the settings as needed.
Enabling Virtualization Technology
Turning on virtualization in BIOS is crucial for running many virtual machines on Proxmox. Find the virtualization options, usually under CPU settings. Make sure Intel VT or AMD-V is turned on, depending on your processor. This boosts your server’s performance by using hardware-assisted virtualization.
This setup lets your Proxmox server use resources well, making it efficient for managing virtual environments. For more help, check out this detailed guide on installing community software for better usability.
Installing Proxmox on Your Server
Installing Proxmox on your server is easy if you follow each step carefully. This guide covers the main parts of the installation. You’ll learn how to boot from a USB drive and set up important settings. Knowing these steps helps you set up your server for the best performance.
Booting from USB Drive
To start the step-by-step proxmox installation, plug in the USB drive and restart your server. Go into the BIOS or UEFI settings to make the USB drive the first to boot. If your server won’t boot from the USB, check if it was made right and works. Sometimes, older computers need extra settings to use USB boot.
Installation Process Overview
During the install, you’ll see important choices. First, pick your language, then choose the disk to install on. Be careful here, as picking the wrong disk can erase your data. The installer will help you set up the disk for Proxmox.
Configuring Basic Settings
Once installed, we move on to the proxmox basic settings configuration. Here, you set your timezone, create an admin password, and adjust network settings. Make sure these match your needs, as they impact how your server works and who can access it. Getting these right is key to a solid Proxmox setup.
Network Configuration During Installation
Proper network setup is key during Proxmox installation. It ensures your server talks well with your network. Choosing the right network interfaces and setting up IP and gateway correctly is important. This helps avoid future connection problems.
Selecting Network Interfaces
At the start, you’ll pick your network interfaces. It’s vital to choose the right one, especially if your server has many network cards. Pick the main interface for management to make communication and tasks easier.
Configuring IP Address and Gateway
Next, you’ll set up the IP for Proxmox. A static IP is best for servers to keep access steady. Enter the IP and gateway to connect your server to the network. A good setup here means your Proxmox server stays connected without issues.
Hostname and DNS Settings
Choosing a hostname is also important. A good hostname helps identify your server in the network, making remote access better. DNS settings are key for domain name resolution, helping with both internal and external access.
| Setting | Details |
|---|---|
| Network Interfaces | Select the primary network interface for management tasks. |
| IP Address | Static IP is recommended for consistent server accessibility. |
| Gateway | Enter the gateway address for proper network integration. |
| Hostname | Choose a recognizable hostname for easy identification. |
| DNS Settings | Configure DNS for domain name resolution within the network. |
Post-Installation Steps
After setting up Proxmox, we move to the important post-installation steps. These steps help us manage our server well. First, we access the Proxmox web interface. It’s key for watching over and controlling our virtual environments.
Accessing the Proxmox Web Interface
We start by making sure our server’s IP address is set right. Open a web browser and type in the IP address and :8006 to get to the Proxmox web interface. This tool makes managing our resources easy.
Initial Configuration Checklist
Setting up some key things is crucial for server performance. The steps include:
- Setting up user accounts and permissions
- Configuring storage options for virtual machines
- Verifying network configurations and security settings
Having these settings right makes our server run better and stay safe.
Updating Proxmox to the Latest Version
Keeping Proxmox updated is key for its stability and security. We check the current version on the web interface. Then, we use the terminal to update Proxmox with the latest patches and improvements. This keeps our server safe and makes it work better.
If you want to make your server do more, think about installing cPanel. Taking these steps makes our Proxmox server run smoothly and reliably.
Setting Up Storage in Proxmox
Proxmox storage setup is key to better server performance and resource use. Knowing how to add storage in Proxmox helps admins use resources well. This part covers setting up local and network storage and the types available.
Adding Local Storage
Adding local storage in Proxmox is easy. Local storage means hard disks or SSDs connected to the server. Here’s how to do it:
- Log into the Proxmox web interface.
- Select the node for the storage.
- Go to “Datacenter” and click “Add” then “LVM” or “Directory.”
- Enter the storage name, path, and options.
These steps help users quickly use local resources for virtual machines.
Configuring Network Storage Options
For big setups, network storage is crucial. Options like NFS, iSCSI, and Ceph are flexible and scalable. Here’s how to set them up:
- Go to the Proxmox web interface and “Datacenter.”
- Click “Add” and pick your network storage type (like NFS).
- Put in server IP and export path details.
- Check the connection to make sure it’s working.
This boosts storage for virtual machines, making management better.
Understanding Storage Types in Proxmox
Proxmox has many storage types, like local, shared, and cloud. Each has its own benefits for different needs. The main types are:
| Storage Type | Description | Best Use Case |
|---|---|---|
| Local Storage | Disks directly attached to the Proxmox node. | Single-node setups, low latency. |
| Shared Storage | Accessible by many nodes, for high availability. | Cluster setups for redundancy. |
| Cloud Storage | Cloud services for flexibility. | Dynamic workloads needing quick scaling. |
Knowing these storage types helps plan better, making resource use efficient.
For a detailed guide on Proxmox storage setup, check out this complete server setup guide.
Creating Virtual Machines
Creating virtual machines in Proxmox helps manage resources well and keeps workloads separate. This guide will walk you through the key steps. You’ll learn how to create a VM, set up resources, and import existing VMs.
Step-by-Step VM Creation
To start creating virtual machines in Proxmox, first log into the web interface. Choose the node for your VM and follow these steps:
- Click on the “Create VM” option.
- Enter the VM ID and Name.
- Pick the OS you want to install.
- Choose where to store VM disks.
- Check your settings and confirm to finish.
Configuring VM Resources
Setting up VM resources in Proxmox is key for good performance. You need to adjust:
- CPU Allocation: Set the number of cores and sockets.
- RAM Size: Give enough memory based on needs.
- Disk Space: Pick a storage format.
By tweaking these settings, your VM will run smoothly. It will meet app needs and performance goals.
Importing Existing VMs
Importing VMs to Proxmox makes moving from other platforms easier. Here’s how to do it:
- Make sure the VM is exported right from its old platform.
- Go to the Proxmox web interface and pick a storage location.
- Use the “Import” option to add the VM file.
- Check the settings after importing to make sure they match Proxmox standards.
| VM Parameter | Description | Importance |
|---|---|---|
| CPU Allocation | Number of virtual CPUs assigned to the VM | Critical for processing power |
| RAM Size | Amount of memory allocated to the VM | Supports application efficiency and stability |
| Disk Space | Storage capacity allocated for the VM | Hosts OS and application data |
Proxmox Backup Solutions
Keeping data safe and available is key for any business. Proxmox has strong proxmox backup solutions for keeping things running smoothly. Knowing these options helps use Proxmox better, fitting your business needs.
Overview of Backup Options
Proxmox has many backup choices for different needs. You can pick from:
- Local Backups: Keep backups on the same server for fast recovery.
- Network Backups: Use network storage for easy backup management.
- Cloud-Integrated Solutions: Use cloud storage for safe offsite backups.
Configuring Backup Jobs
Configuring proxmox backups is key for regular data protection. Here’s how to set up backup jobs:
- Go to the Proxmox web interface.
- Find the Datacenter or specific VM settings.
- Choose ‘Backup’ and set up job details like schedule and storage.
- Save and turn on the backup job.
Restoring from Backup
Restoring from proxmox backup is vital for data recovery. Here’s how to get your VMs back:
- Pick the VM in the Proxmox interface.
- Go to ‘Backup’ to see available backups.
- Choose a backup and click ‘Restore’.
- Confirm settings and start the restore.
Troubleshooting Common Installation Issues
Fixing problems with Proxmox installation is key to a smooth setup. Issues like network problems and disk space errors can pop up. Knowing how to handle these can make your installation go smoothly.
Encountering Network Problems
Network troubles often come from wrong settings or faulty hardware. Make sure your network settings are right by checking IP addresses and DNS. Testing your network can help find and fix common problems.
For more help, check out the setup guide for detailed steps.
Disk Space and Configuration Errors
Not enough disk space can stop your installation. Always check your disk space before starting. Mistakes in setup can also cause problems.
To avoid these, double-check your storage settings. Make sure they match your system’s needs.
Accessing Support Resources
When you hit a snag, Proxmox support can be a big help. Official guides, forums, and professional help offer lots of advice. Use these resources to get past installation problems and enjoy Proxmox more.
Conclusion
As we conclude our proxmox installation summary, it’s important to recall the key steps. We covered everything from checking your hardware and software to creating a bootable USB. Each step is crucial for a smooth installation.
With Proxmox, businesses can boost efficiency and use resources better. This is thanks to virtualization.
Our final thoughts on proxmox installation show its scalability and flexibility. It’s great for both small and big businesses. Proxmox helps protect data and improve operations in today’s fast world.
For those wanting to learn more about Proxmox, there are many learning resources for proxmox. You can find official guides, forums, and courses. These resources will help you grow your skills.
Remember to keep your workspace safe. Use tips from experts here to protect yourself and your team. This will help you and your team get the most out of Proxmox.
FAQ
What are the basic hardware requirements for installing Proxmox?
To install Proxmox, you need a 64-bit processor. Also, at least 2GB of RAM (8GB is recommended for production). You’ll need enough storage space and a compatible network interface card.
How can I download Proxmox?
You can download Proxmox from the official Proxmox website. It’s best to pick the latest stable release. This ensures the best performance and security.
What steps are involved in creating a bootable USB for Proxmox installation?
Use tools like Rufus or Etcher to make a bootable USB. Choose the ISO file, pick your USB drive, and follow the prompts. It’s easy to do.
How do I configure BIOS for a successful Proxmox installation?
Go into your BIOS/UEFI settings. Set the boot order to use the USB drive first. Also, make sure virtualization technology (Intel VT or AMD-V) is turned on.
What should I do if I encounter network problems during installation?
Check your network settings and make sure your hardware works right. For more help, see the Proxmox documentation’s troubleshooting section.
How can I access the Proxmox web interface after installation?
After installing, open the web interface by typing the server’s IP address in a browser.
What backup options does Proxmox offer?
Proxmox has many backup options. You can do local backups, network backups, and cloud backups. All can be set up from the web interface.
Can I import existing virtual machines from other platforms to Proxmox?
Yes, Proxmox lets you import virtual machines from other platforms. This makes switching to Proxmox easy.
Are there resources available for learning more about Proxmox?
Absolutely! Proxmox has a lot of documentation, forums, and training courses. These are great for learning more and getting better at using Proxmox.
Comments are closed.